A Quick Tour of Family Historian 6 (tutorial version)
Not to be confused with the video tour of version 7 (see A Quick Tour of Family Historian 7). This is a longer, tutorial video tour of Family Historian 6, with spoken commentary.
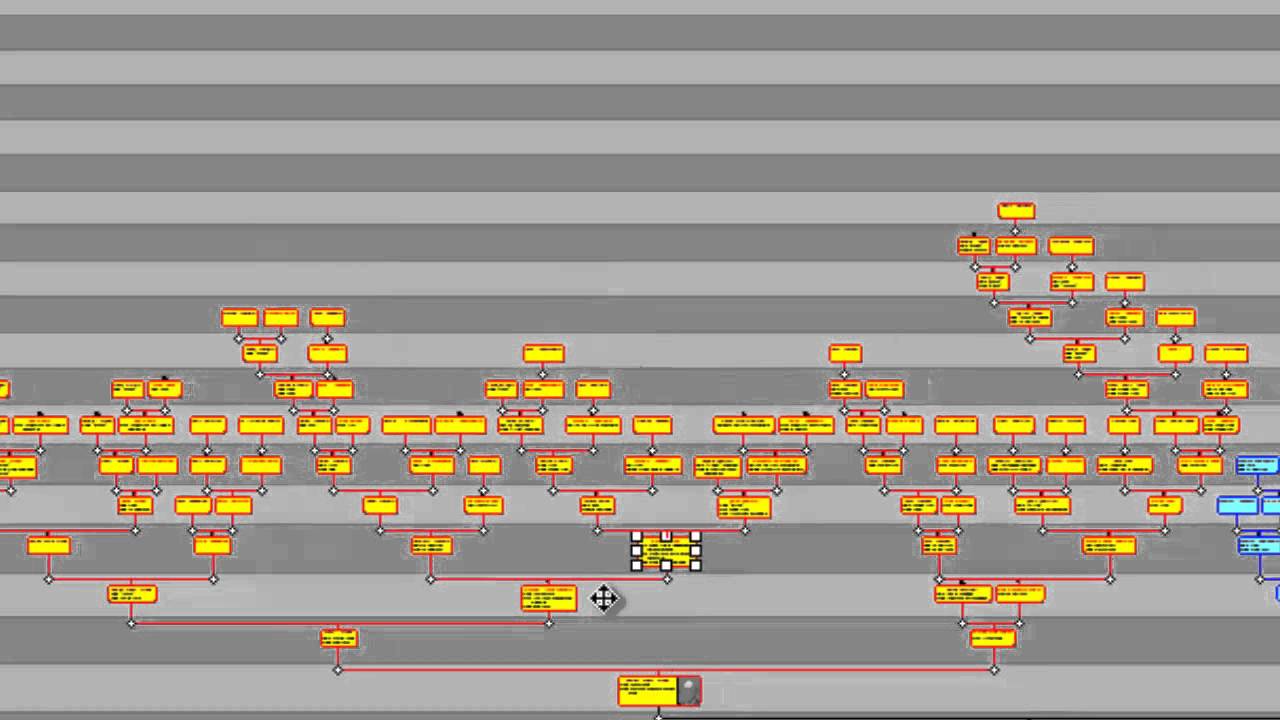
Within Family Historian diagrams, learn how to move boxes and branches, and even how to pull tree branches apart, to make them stand out from one another.
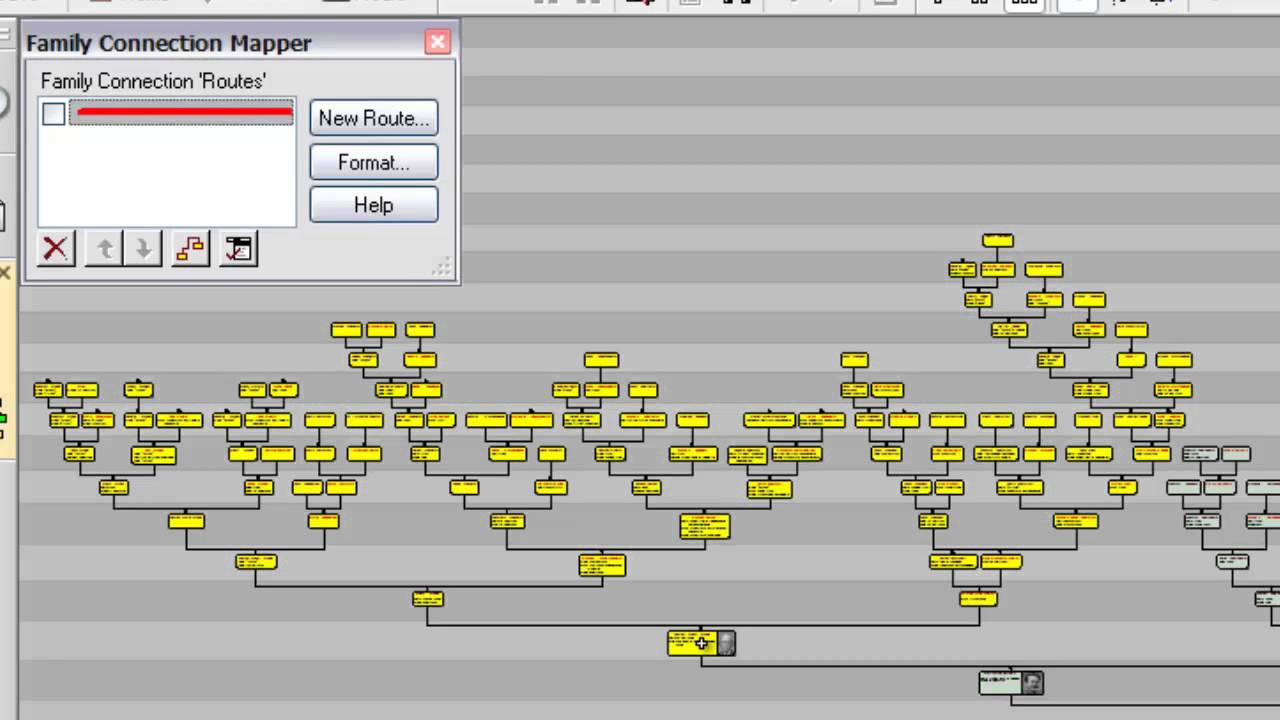
Learn how to improve the look of Family Historian diagrams by colouring tree branches distinctively to make them stand out. The video also demonstrates how to use the Family Connection Mapper tool (added in version 5) to colour lines connecting individual boxes and/or entire branch lines.
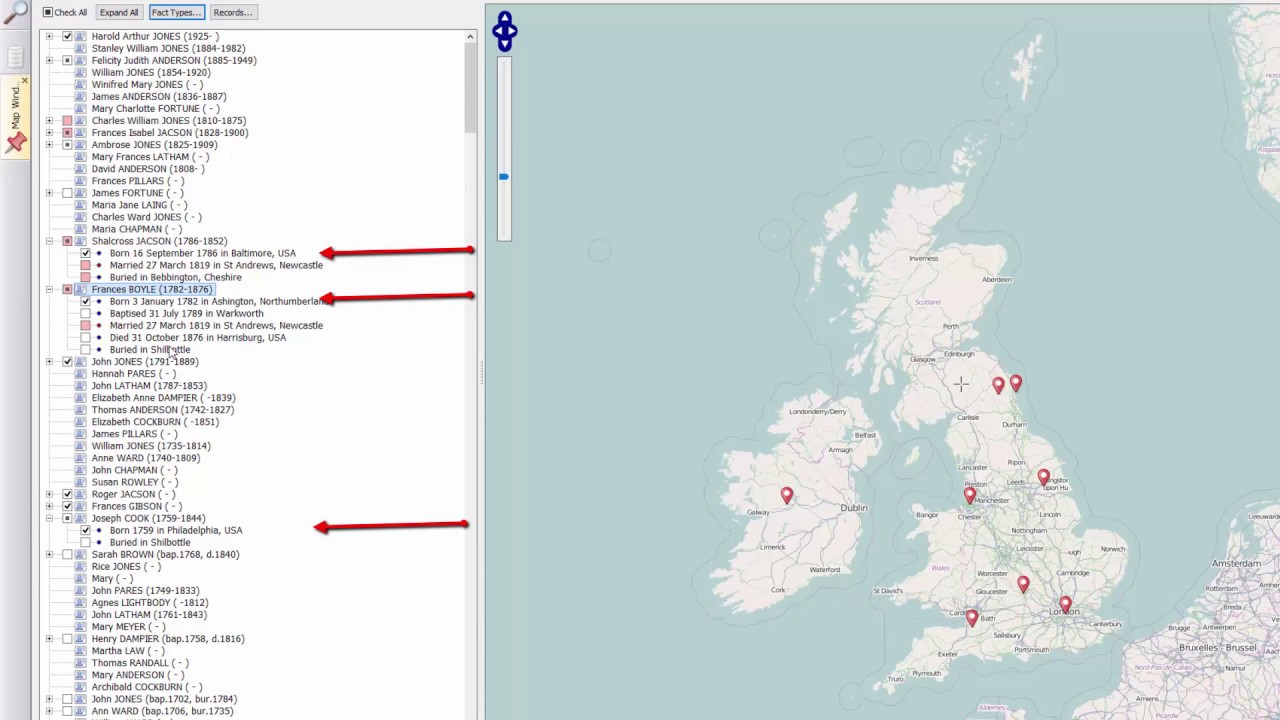
Provides an introduction to the Map Window by showing how to add multiple sets of markers to a map. One marker sets maps where a person's ancestors were born. Another set of markers mark where his wife's ancestors were born. The video also demonstrates how to use the Time Slide
Learn how to resize a Family Historian diagram to fit exactly within one sheet of paper when you print it, or if you prefer, to fit nicely over two or more sheets of paper.